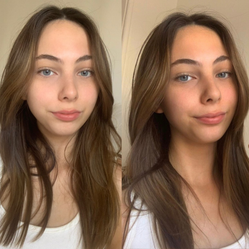
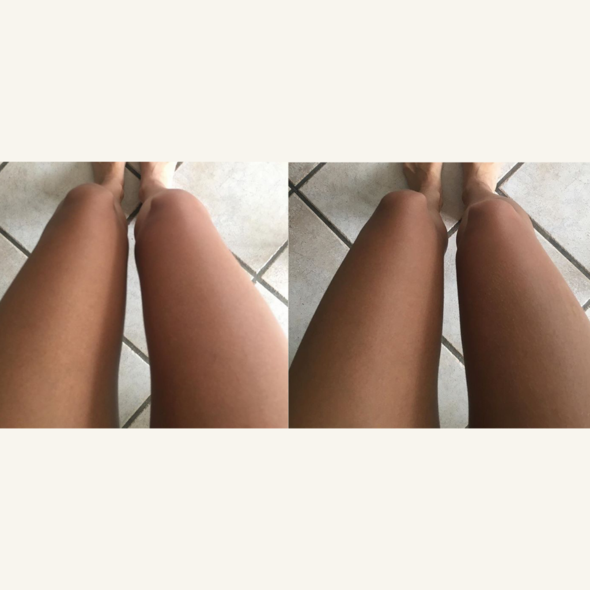
|
1. Preparing Your Skin Exfoliating First things first, your skin needs to be prepped. It’s recommended that you exfoliate 24 hours prior. Here’s our take on this – dry skin is a no-no and so is residue from your last fake tan. Exfoliating is important to get rid of dead skin cells and prolong your tan BUT if your skin is reasonably hydrated and not flaky and dry, you *could skip this step. I often have a warm shower or bath and exfoliate, especially dry areas, then rinse off in cool water (this is good for closing the pores and calming the skin). Make sure you dry your skin thoroughly before applying tan. If, however, you have dry skin, definitely exfoliate the evening before and apply a really good moisturiser overnight before rinsing and applying tan. Whatever you do, make sure all oily residues and especially sunscreens are washed off before you apply sunless tanner because they can interfere with the skin’s absorption. Shaving, waxing or epilating Another thing to think about before you apply is shaving, waxing or epilating. It’s fine to shave just prior if your skin doesn’t react, but waxing and epilating need to be done the day before because the tan can pick up on the redness of your skin after being violently plucked and de-haired. 2. Skin’s All Prepped? Now For Some Moisturising Sunless Tan Using a quality tanning mitt...Firstly, don’t be shy, strip down in good light and apply a few good squirts of foam to your mitt… Oh before I forget, did I mention that you MUST use a really good quality tanning mitt? This is almost the number one, most important application rule! Good mitt + good tanner = hard to go wrong ! So, as I was saying, a few squirts to the mitt and away you go. Applying in the right areas. I start at the top of my shoulders and work down my arms, putting the bulk of the product on the areas I want to look darkest and working in the new product to blend in. Use the residue on tricky areas such as hands, feet and face (more on this in a minute). I don’t find any issues with knees or elbows, just blend it all in, with long, thick strokes, use lots of product… blending, blending, checking no areas are missed out. If you get any patchy bits, just blend in before the product has dried. If, for some reason, you have managed to get a big dark blob somewhere and it is already drying, get a damp cloth or cotton wool and just dab off the excess. A minute or so later, go over this area again. I find that even if the guide colour looks a bit patchy from my dodgy application, once this has been rinsed off, the tan still looks even. If you have any skin pigmentation, bruises or scars etc you can use a cotton bud or pad to take excess tan off these areas to even out the imperfections. Applying the right amount in the areas that matter. As mentioned, once the product has almost run out on the mitt, use this residue for areas that are a bit trickier such as the backs of your hands, your feet and face. Rub in between fingers and toes but with only the smallest amount of product since these areas tend to ‘grab’. I do my face last and make sure I go right to my hairline, do my ears and neck….don’t forget your neck! Also make sure you get any creases, eg under your boobs and bum, even if these bits might never see the light of day. For those hard to reach spots such as your back, you can buy a self tan back applicator or ask your partner… unless you happen to be very supple and can reach all your extremities yourself. 3. Done & Dusted! Make Sure To Let The Tan Dry First Checking all blind spots - reapply tan if needed Once you have applied your tan all over and studied yourself in a mirror to ensure you didn’t miss anything, it should only take a couple of minutes to be touch-dry and then you can get dressed and get on with your life. You do need to be careful not to get wet at this stage, so it’s not a good time to walk the dog in the rain or do the washing up…. but if you do get a bit wet, don’t panic, you can pat dry and blend, or rinse off, it’s not a total disaster. The clothes you are wearing now may get some slight staining, although this should wash out, but it’s still probably best to wear darker colours or clothes that wash easily – maybe not your favourite white silk cami… How long should you leave fake tan on for? You can keep your tan on, from anywhere between 2-8 hours. I am quite fair and use the dark tanning foam and keep it on for a few hours max, but lots of people tan before bed. The longer it stays on before rinsing, the darker the end result should be. It can change the shade a bit so this is something you can judge for yourself. Once you are ready, rinse off in warm water, preferably not hot and DO NOT USE SOAP or wash your hair… like I once did, doh. The guide colour will wash off in the shower, pat dry with a towel and your tan will continue to develop over the next few hours until you look like a bronzed goddess. Ideally, you shouldn’t swim or bathe too much in order to prolong it and since it may have a drying effect, you need to keep moisturising. Byron Bay Bronze fades really naturally and doesn’t go patchy. That’s where the moisturising and exfoliating pay dividends. If you are really pale and go for a really dark tan, you may have a bit more work to do, to prep your skin for next time.
0 Comments
|
News from us to youEverything you wanted to know about pharmacy and medications but you never asked. Archives
June 2024
Categories
All
|
The fine print |
We are your locally owned pharmacy, proudly supporting the Tauranga community since 1993. |
© John's Photo Pharmacy 2021 | Site powered by Whitfield Consulting


 RSS Feed


